
PnP Blue is a transfer paper that is often used by metalsmiths as a resist for etching. When I was taught how to use PnP paper, I was told that I had to fill up the entire page, so none would go to waste. Although this is a good practice, it is often difficult to produce an entire page worth of imagery, especially if you are making jewelry-sized objects. Being a midwesterner and wanting to save and use every scrap of material, but also having only an idea for one piece and not wanting to waste a whole page of the precious PnP paper, I determined a great way to take advantage of the PnP paper.
Here's what you will need-
- A copy machine or laser printer
- Copy paper (white printer paper)
- PnP Blue Paper
- Scissors
- Black and white imagery (no grayscale)
- Office tape
- A pen or pencil
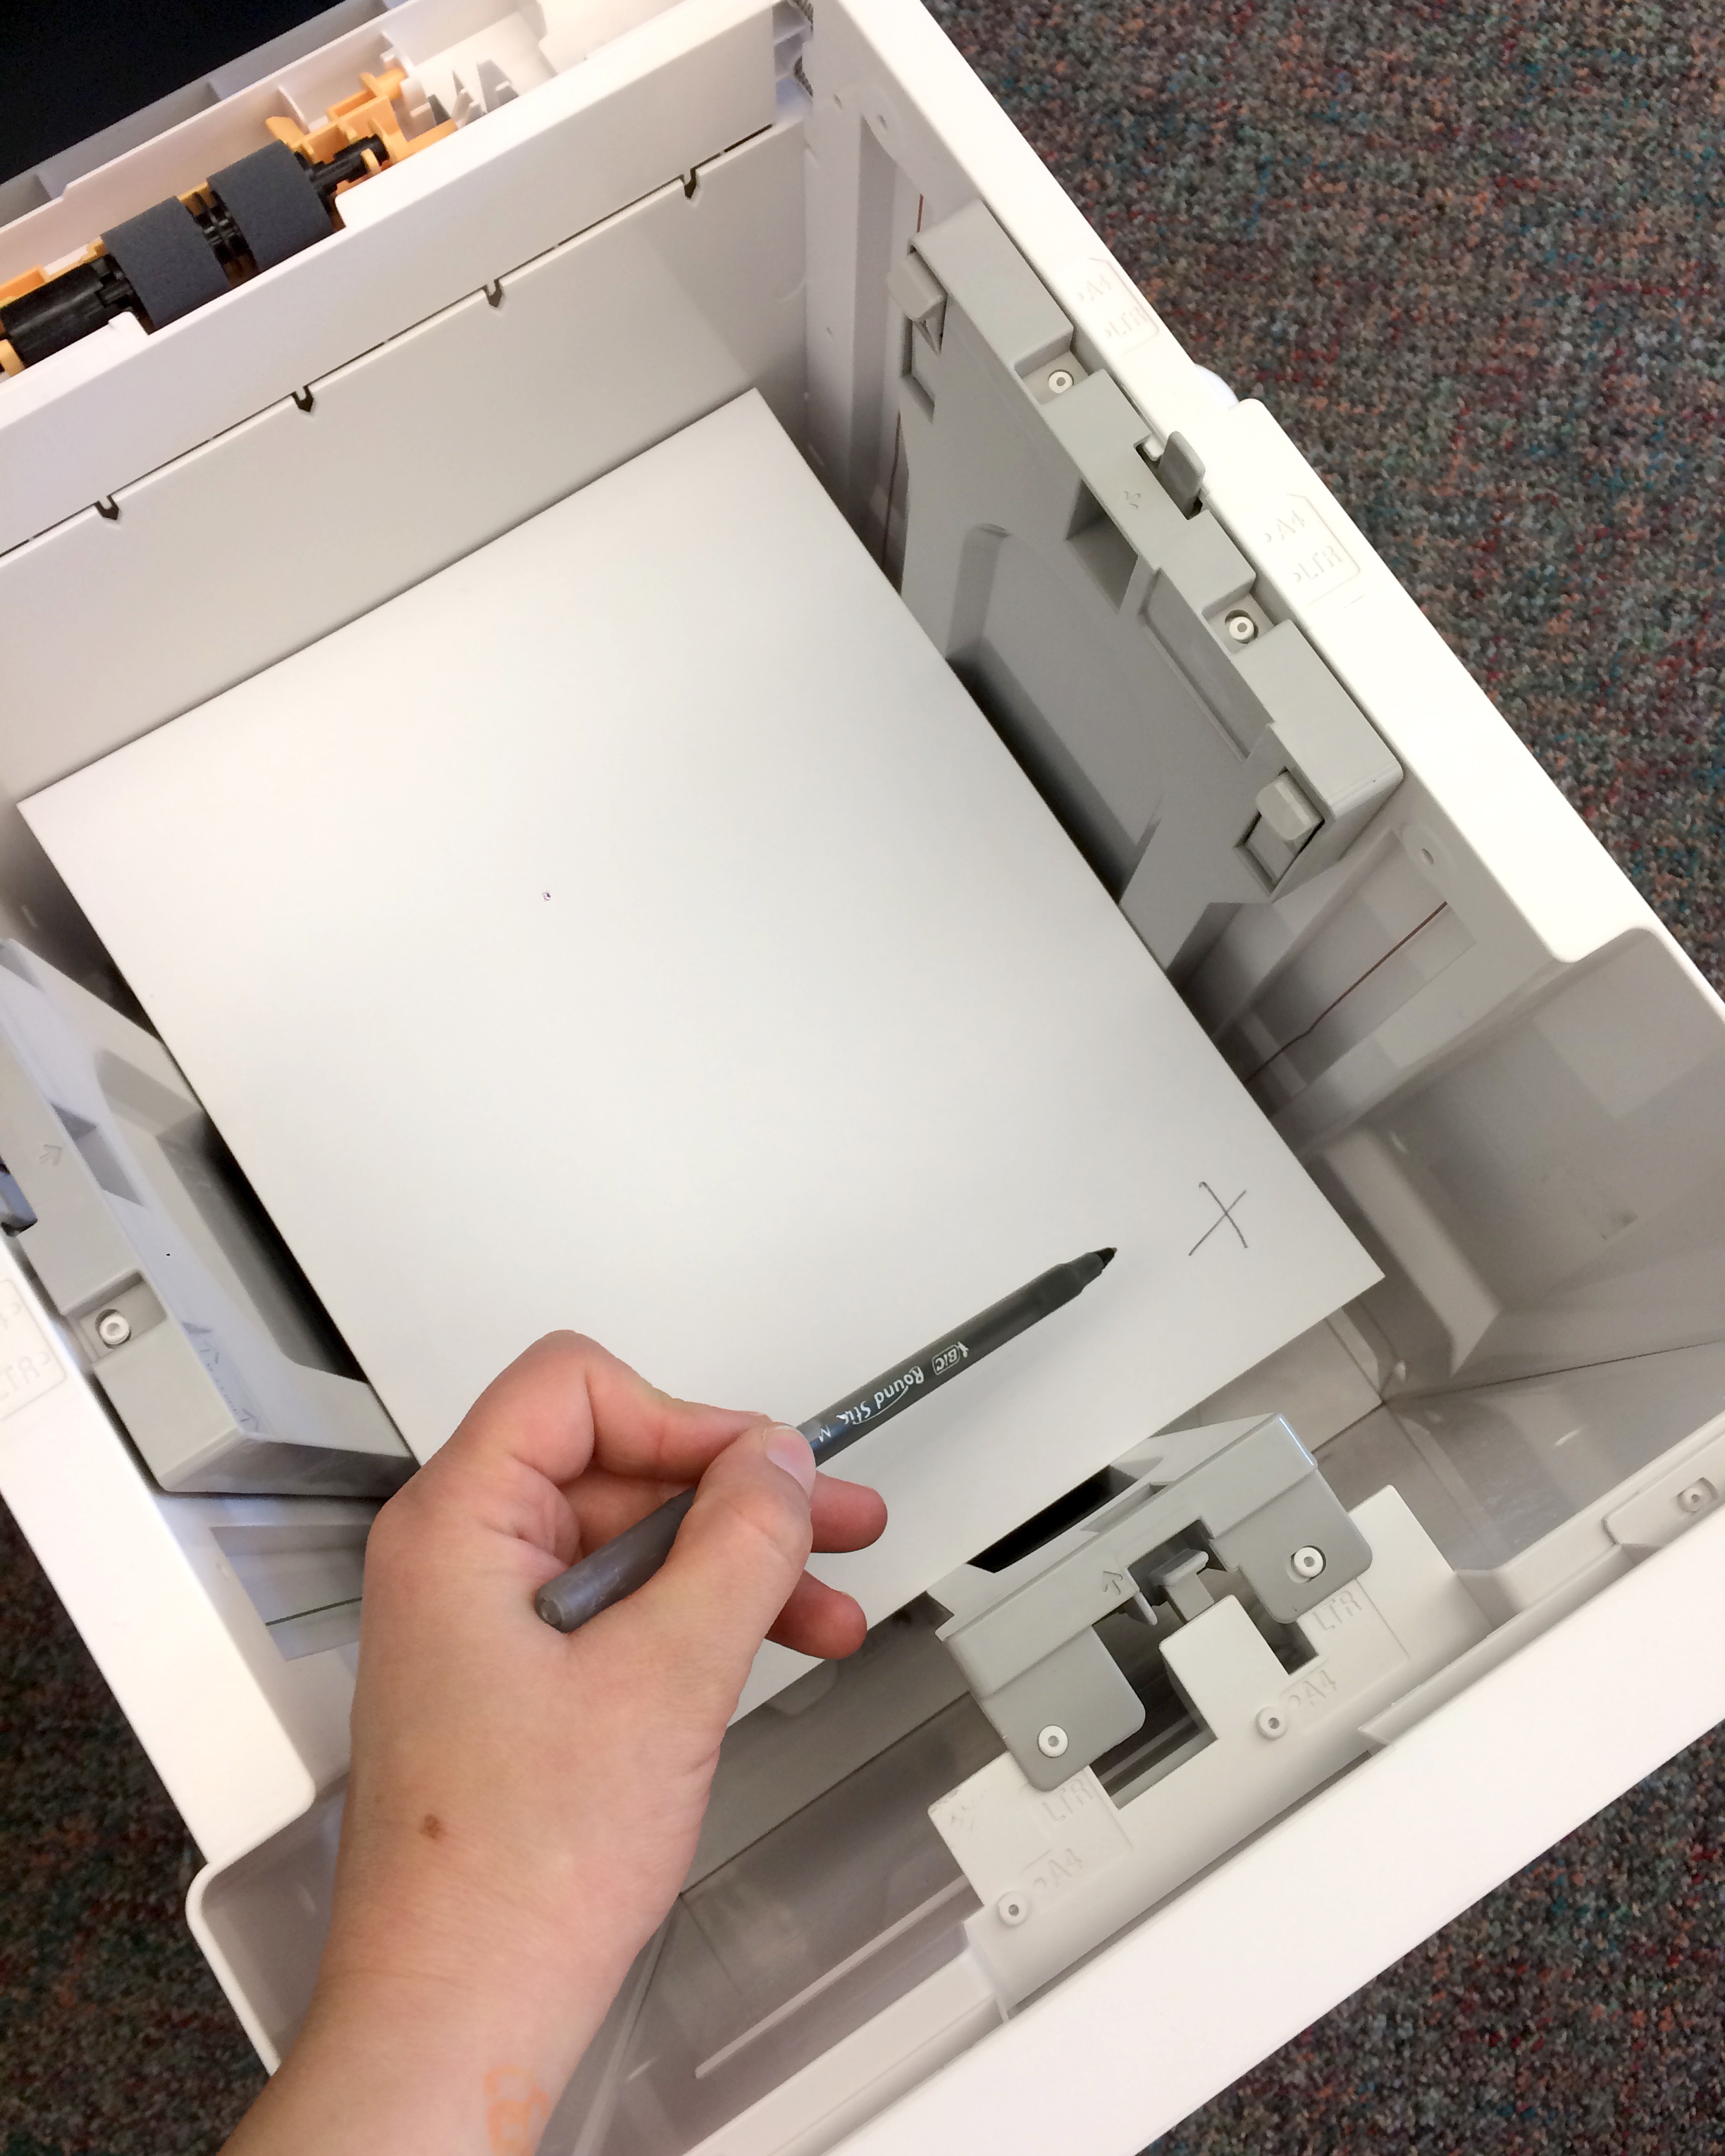
1. First, you will need to determine the orientation of the printer (the direction that it prints on to the paper). To do this, you will need to place an "X" with your pen or pencil on one of the corners of the piece of plain white paper that you are going to print on. I usually choose the front right. You need to remember where you put this "X", because you will put it exactly back into the same position after printing your image on it.
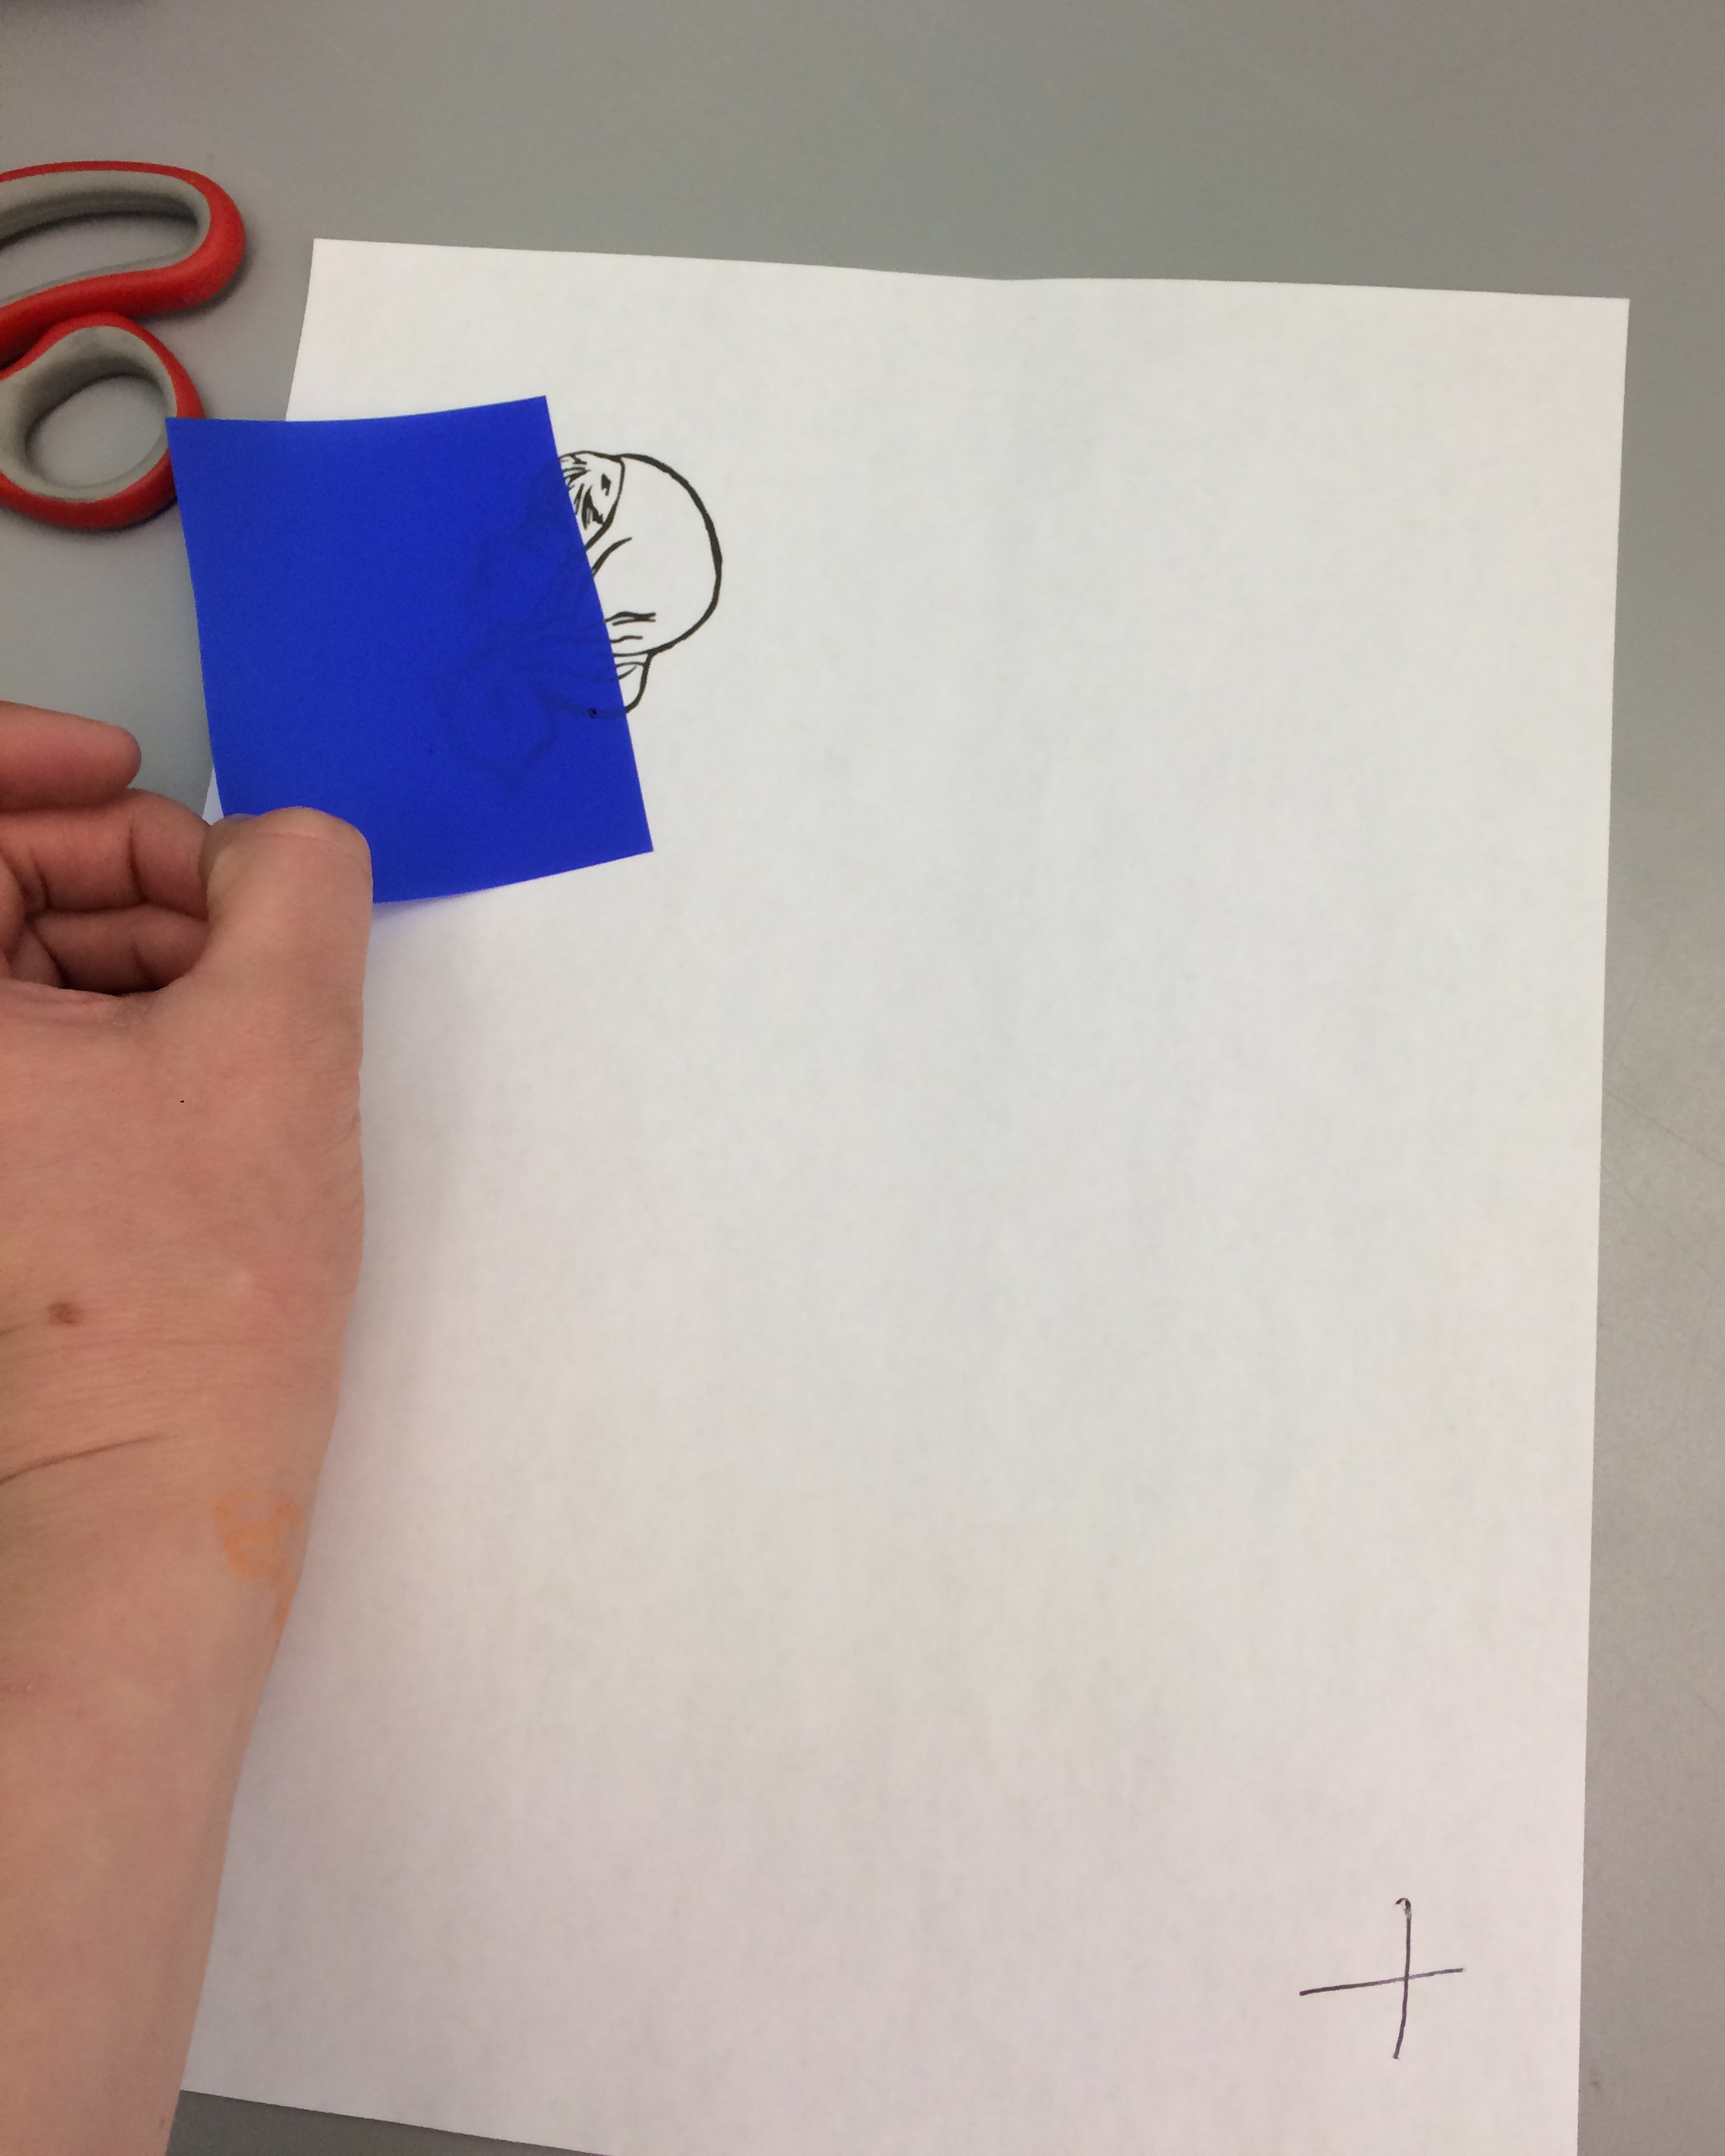
2. Print/Copy your image. Take a scrap of your PnP paper and tape it directly over the printed image, being sure to tape down all of the edges. Place your paper with the PnP scrap in the proper printing orientation by putting the "X" in the same position as previously.
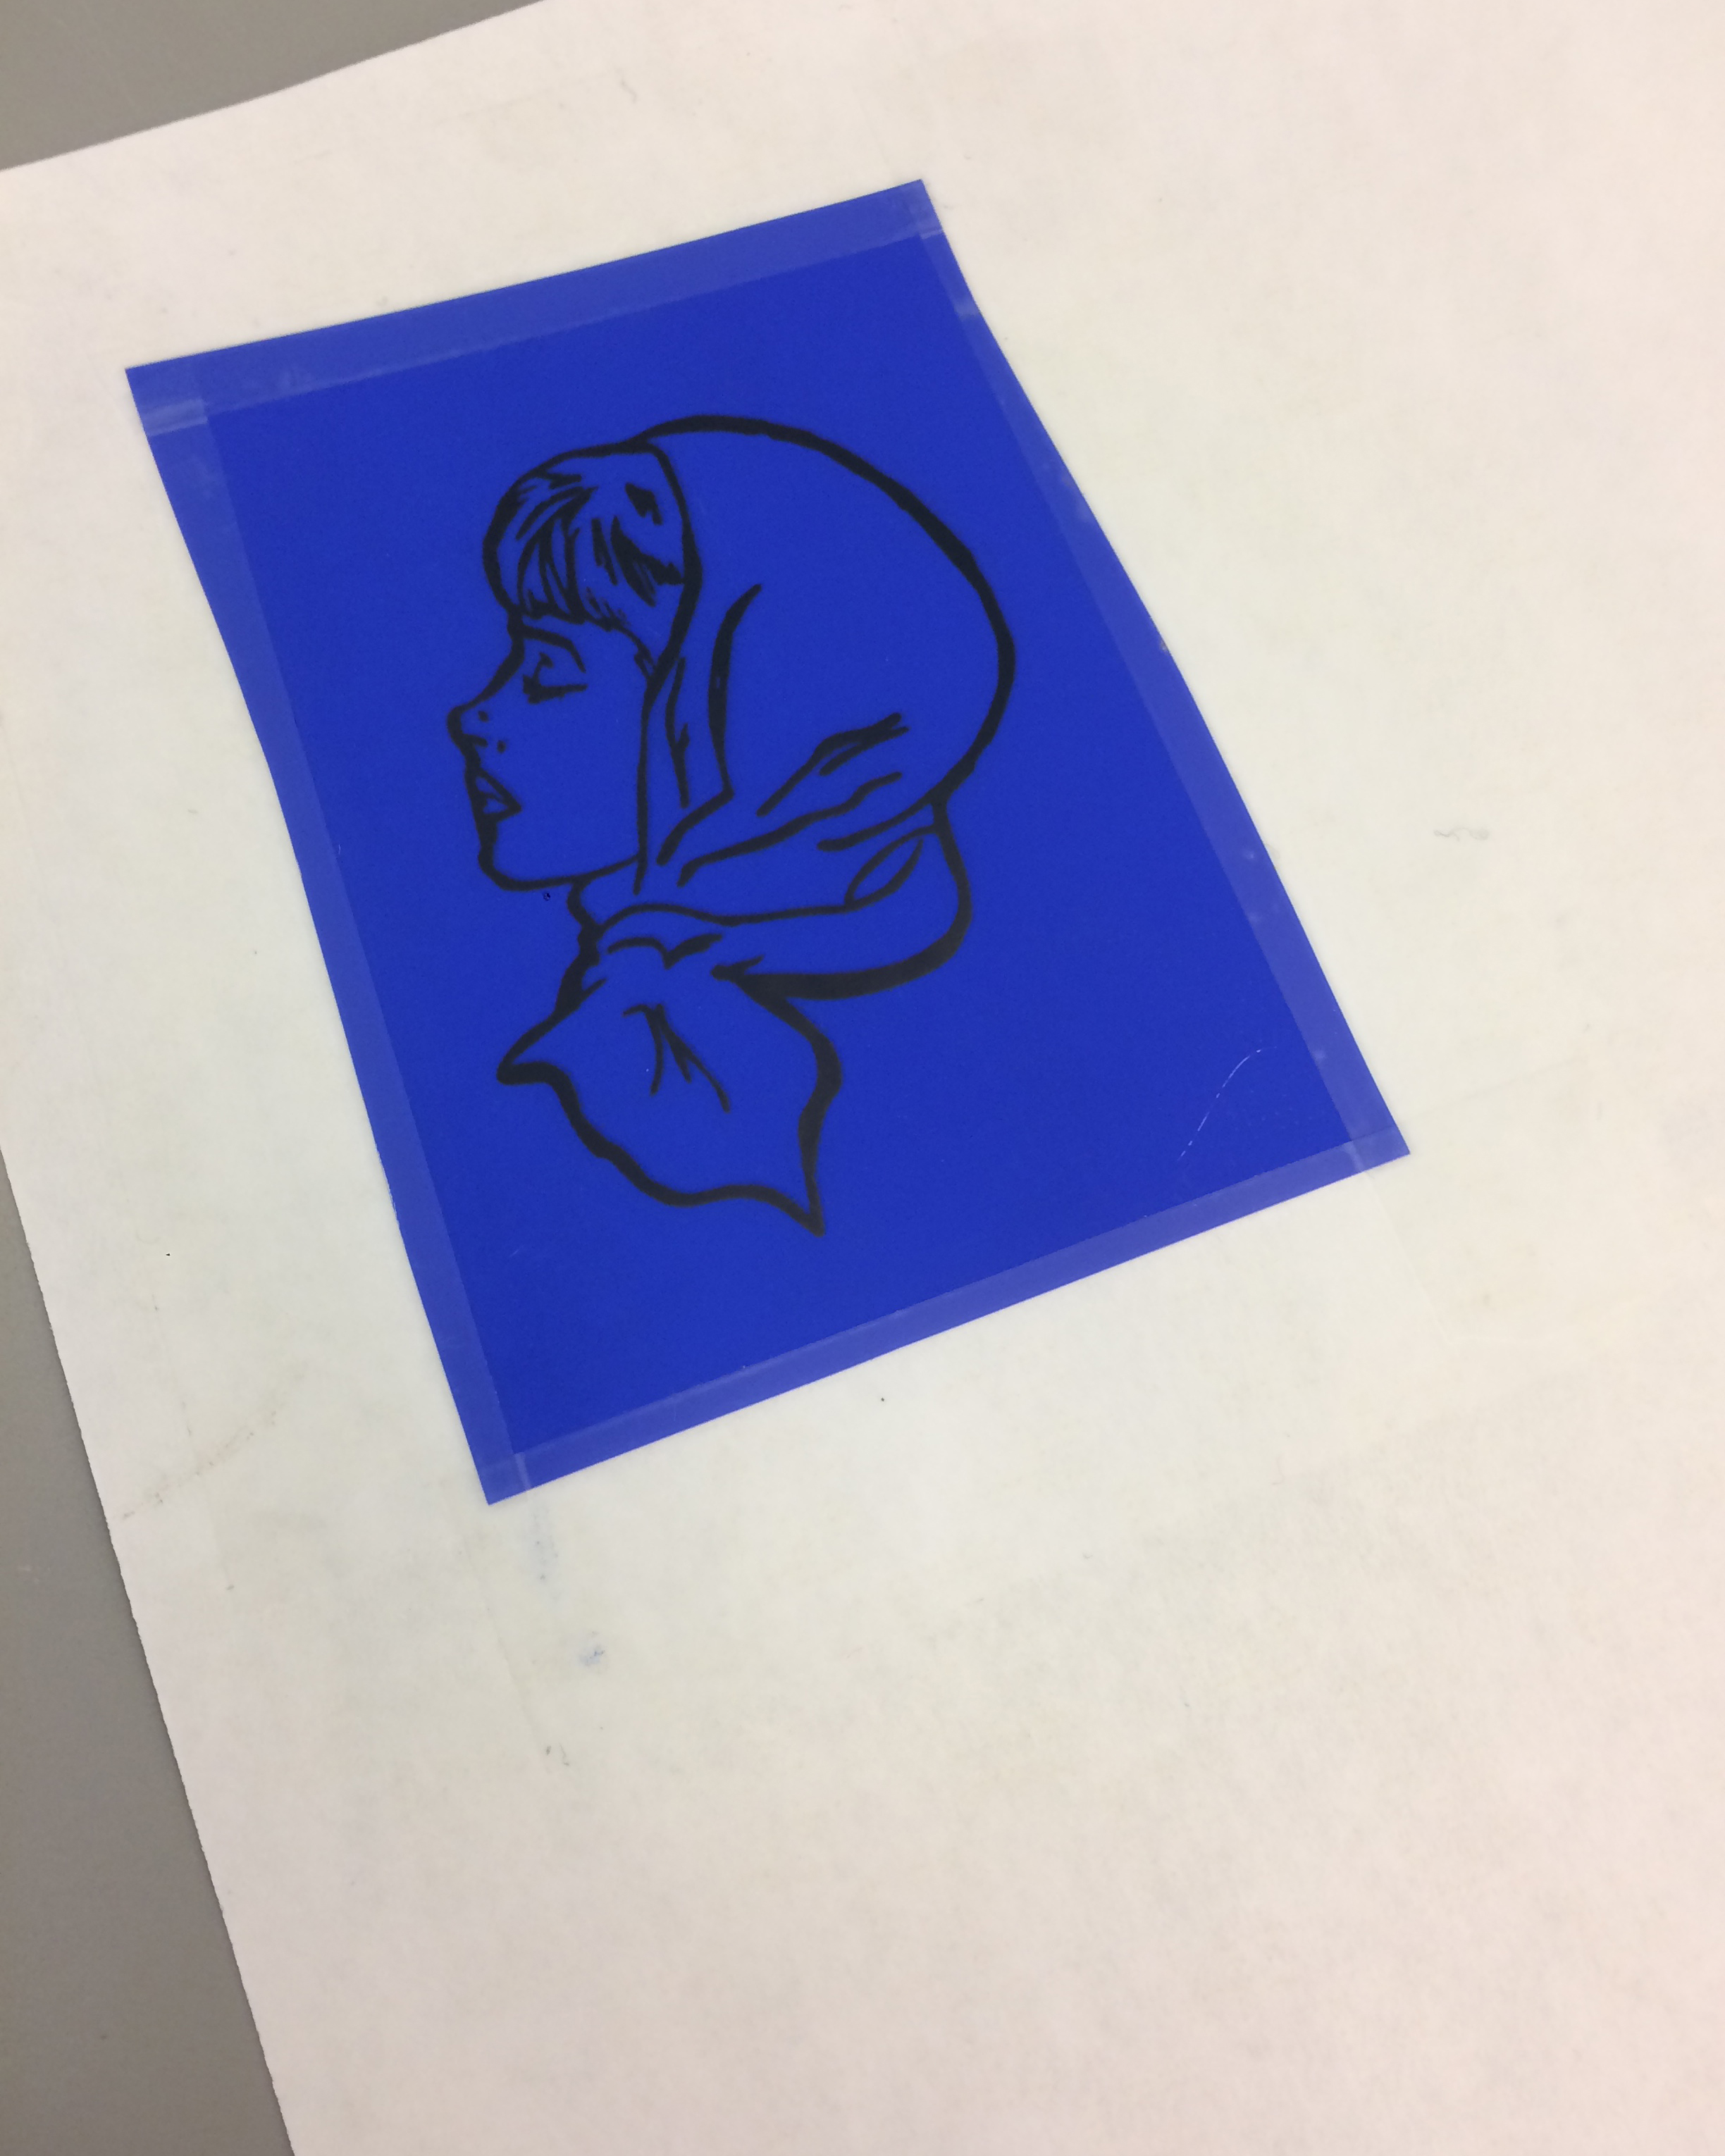
3. Print again. Voilà! You have saved yourself PnP and heartache.
Marissa will be teaching a Champleve Enameling workshop this spring at Metalwerx! Learn more and register by clicking here.