Here is a quick step by step tutorial for creating a simple prong setting for odd shaped objects.
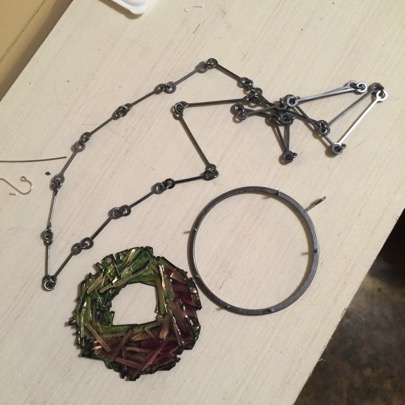
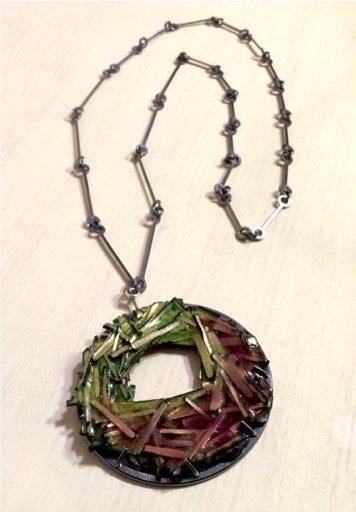
For this enameled wreath, I pre-soldered a large ring to use as my frame.
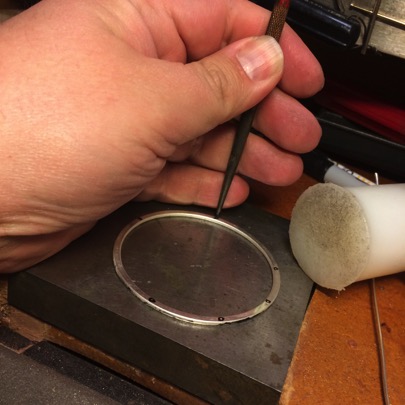
Using a fine tipped sharpie marker I mark where I plan to place my prongs.
Next, I center punch the marks on a bench block.
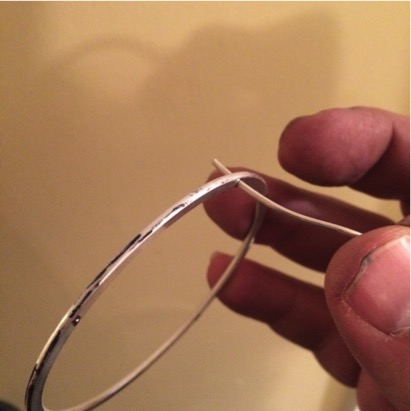
For the prongs I use 14 gauge round sterling silver wire. This requires a #51 drill bit. Double check your bit using your calipers.

After drilling holes in my frame I test fit the wire to make sure there is a tight fit.
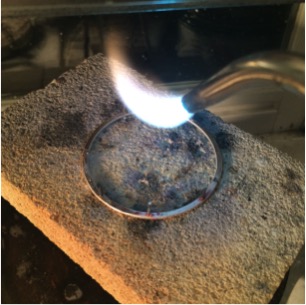
Using a soft kiln brick I hammer the wire through my pre-drilled holes, pinning the frame down to the brick. This keeps the frame stationary while soldering.
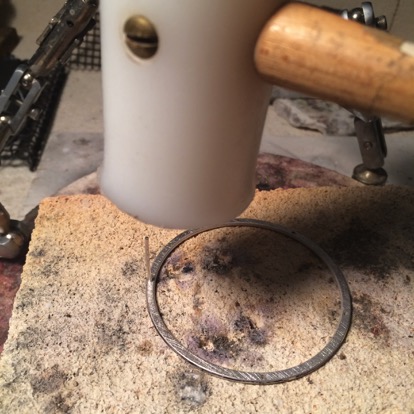
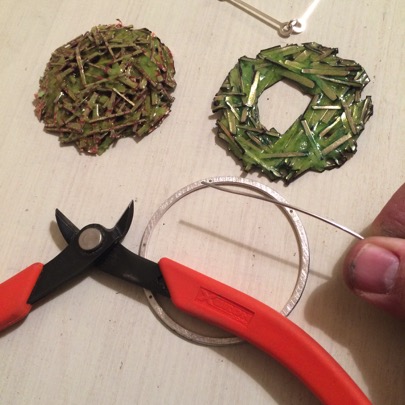
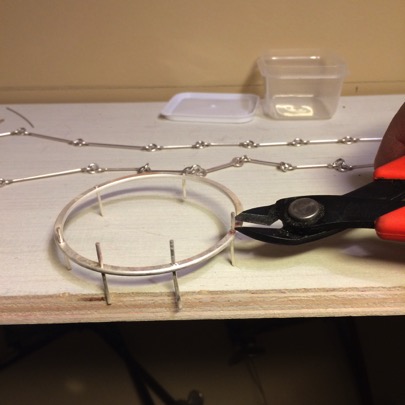
Using wire cutters I snip the wire to my desired prong length.
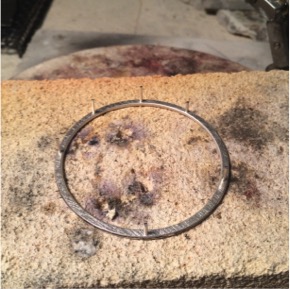
After soldering on the prongs, I let the piece air cool on the brick before removing it. I always test-fit the piece before adjusting the wire to the appropriate prong length.
I often flush cut the prongs on the back side of the frame but you could leave them long to set objects to both sides.
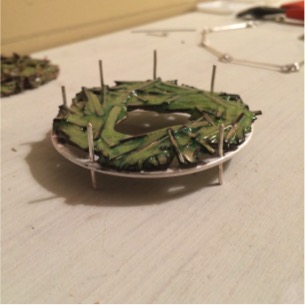
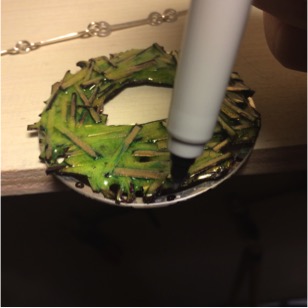
Before setting my object I apply a final finish to the piece (polish, patina etc.). The prongs should be annealed after soldering so they should be easy to push over, trapping the object in the frame.